Step 1
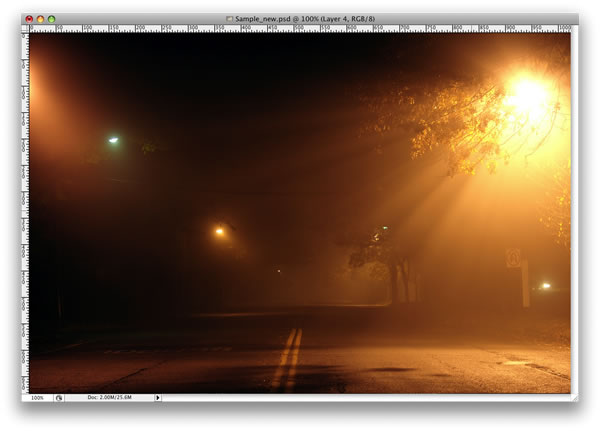
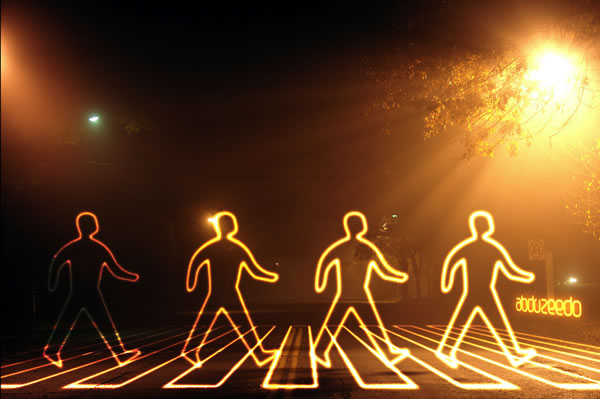
Create a new document and place the photo, you can download the one I used at: Photo 1.
Step 2
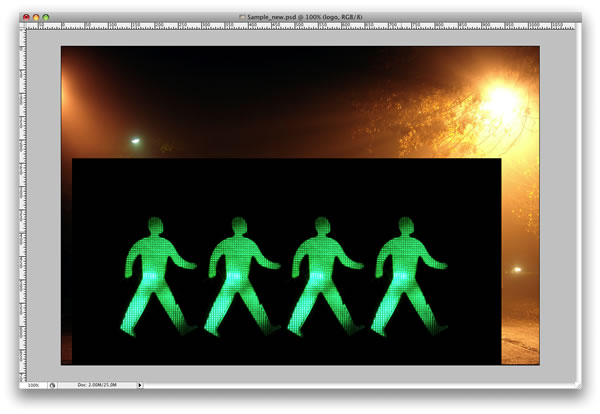
Here I placed a second image. I will use it to create the light effects. Here is the link for the next image:Photo 2.
Step 3
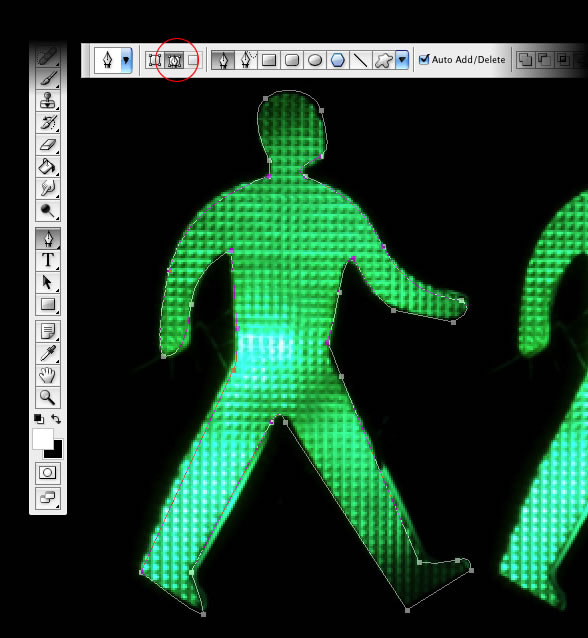
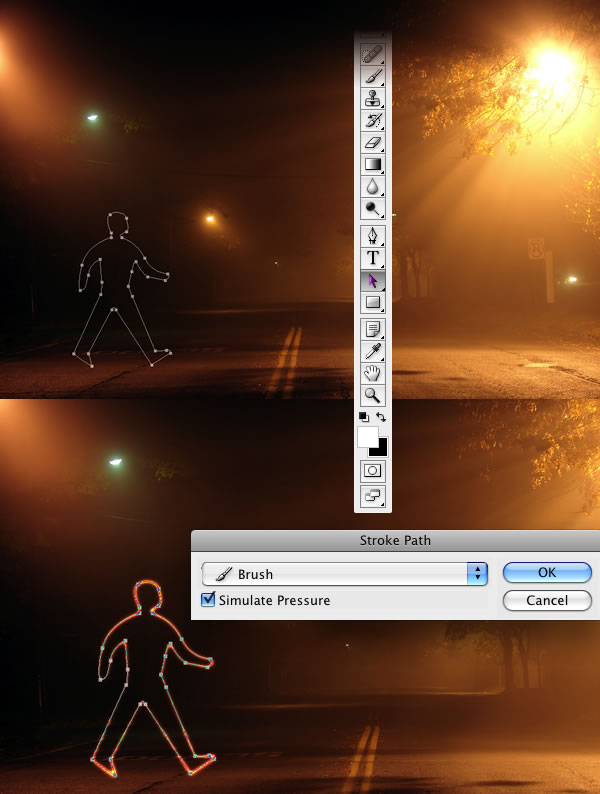
With the Pen Tool(P), create a path for one of the figures.
Step 4
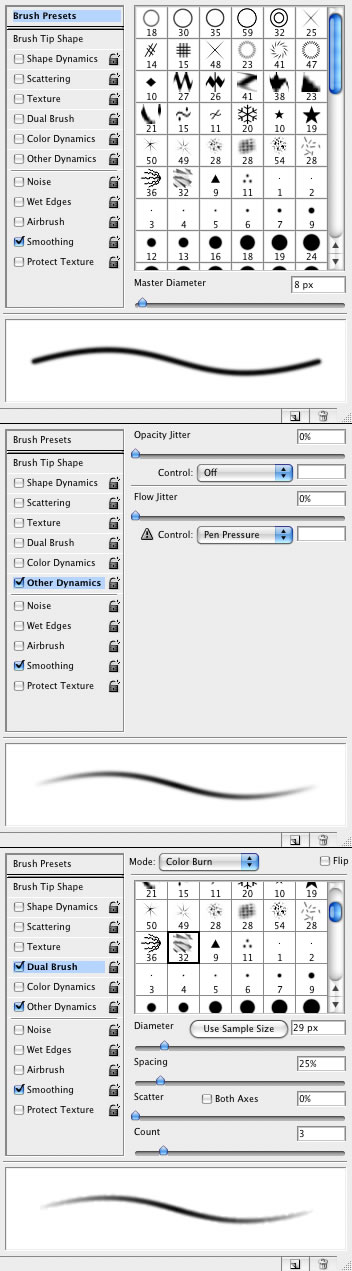
Select the Brush Tool(B) and go to Window>Brushes or F5 to create our brush. Use 8px for the diameter and select Dual Brush and Other Dynamics. Follow the image below for reference.
Step 5
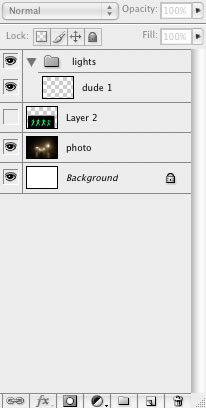
Go to the Layer Palette, create a new folder, and rename it to lights. After that create a new layer inside this folder, name it “dude”, and select it.
Step 6
Go to the Path Palette and select the first path. Then with the Path Selection Tool(A), select the path and right-click. Choose Stroke Path. A dialog box will open; select the brush and use Simulate Pressure.
After that go to Filter>Blur>Gaussian Blur, use 1.6px for the amount.
Step 7
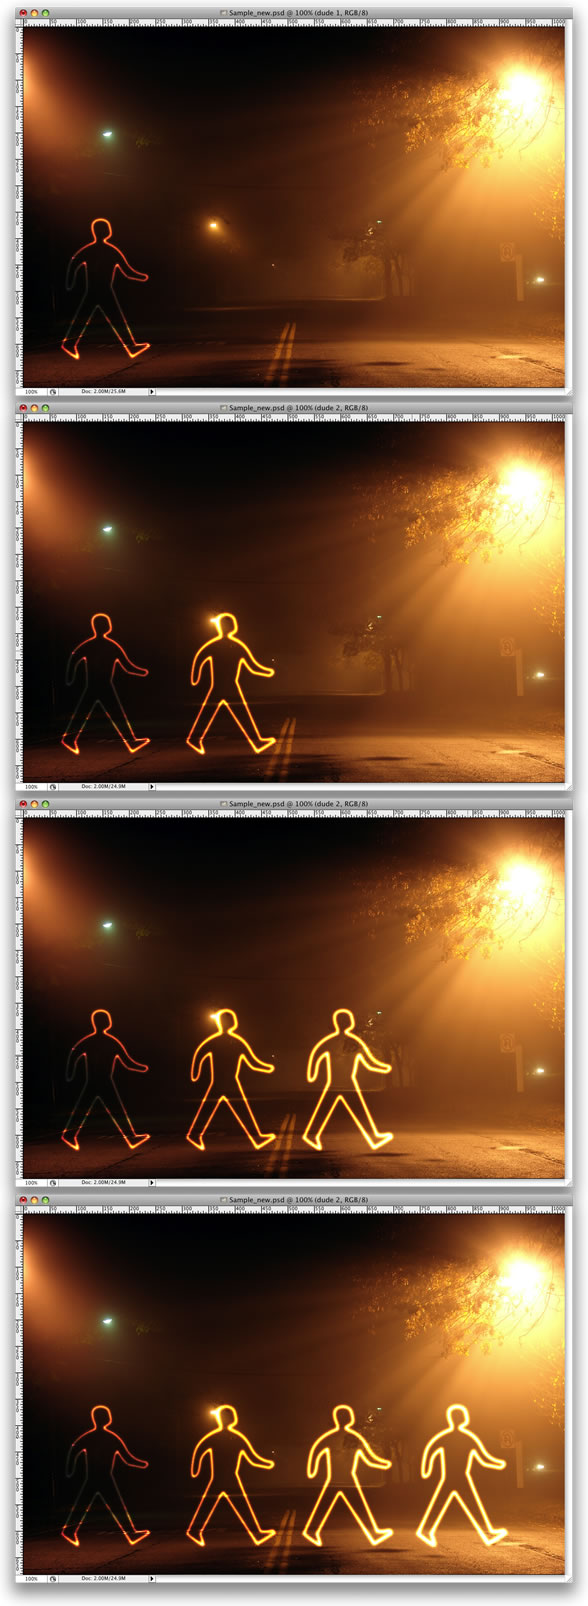
Duplicate the “dude” layer three times.
Step 8
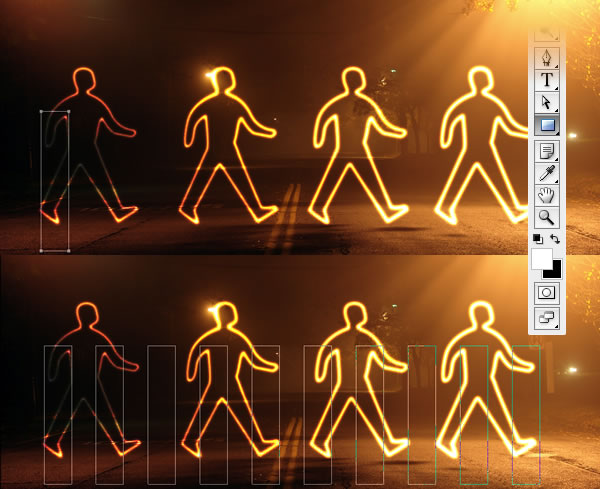
Select the Rectangle Tool (U) and create a rectangle. Then duplicate the rectangle several times. After that align and distribute them horizontally.
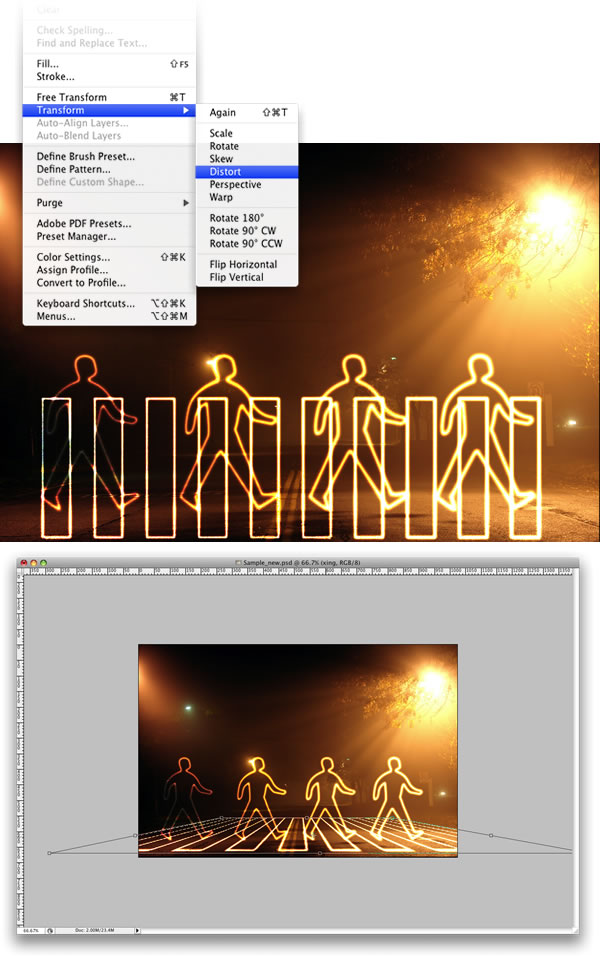
Step 9
Create a new layer inside the lights folder. Rename it to “xing”. Repeat Step 6 and Stroke the paths. After that select the “xing” layer and go to Edit>Transform>Distort. Now just move the vertices until the perspective is good—just follow the street lines.
No comments:
Post a Comment